Roti is a much loved staple in my home. The kids love it as an afternoon snack smeared with ghee, liberally sprinkled with sugar and rolled into a tube they can hold in their hands and greedily chomp away.
Making rotis is not at all hard, if you don’t mind rotis that are not exactly circular the first time around. It does take a bit of practice and some patience. I do have to compliment my mum, whole heartedly, for teaching me how to make rotis, her remarkable patience did pay off eventually.
Yes, it does take me sometime, but the reward of having a homemade roti to soak up a curry or envelope each mouthful of a warm sunny side up egg, is enough to make me start making the next batch.
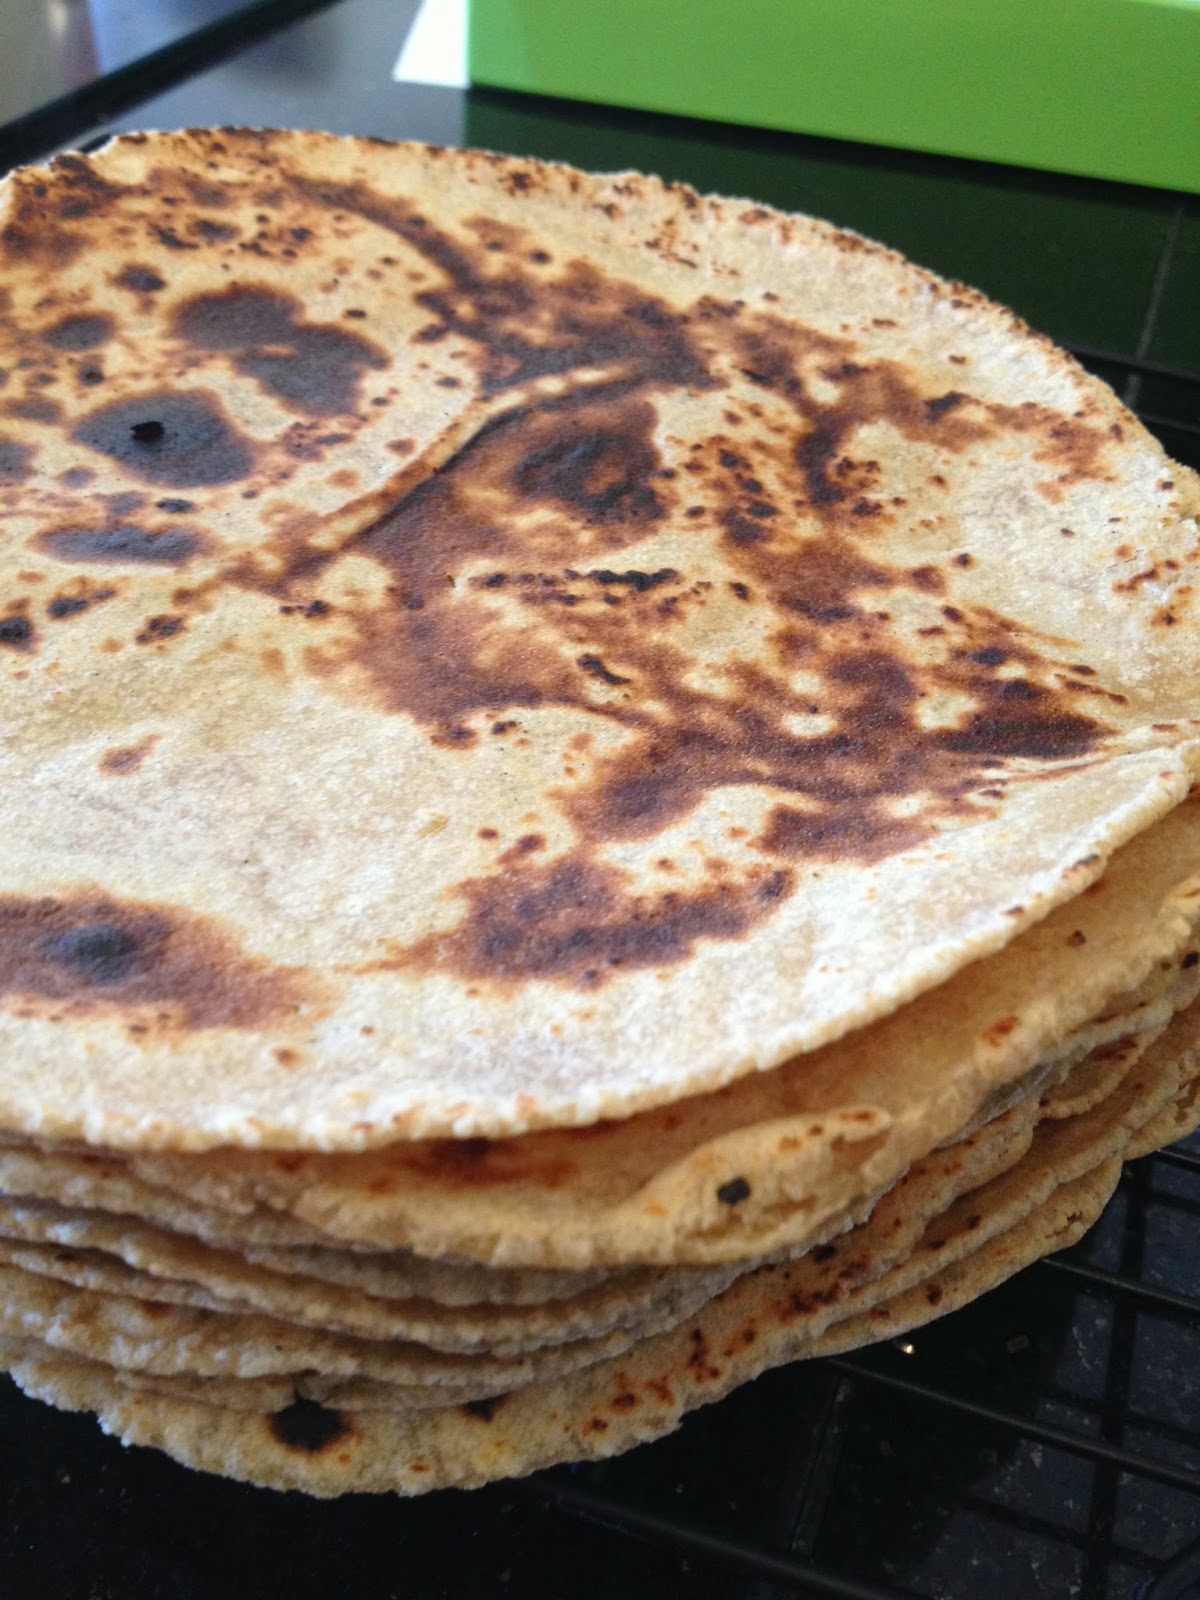
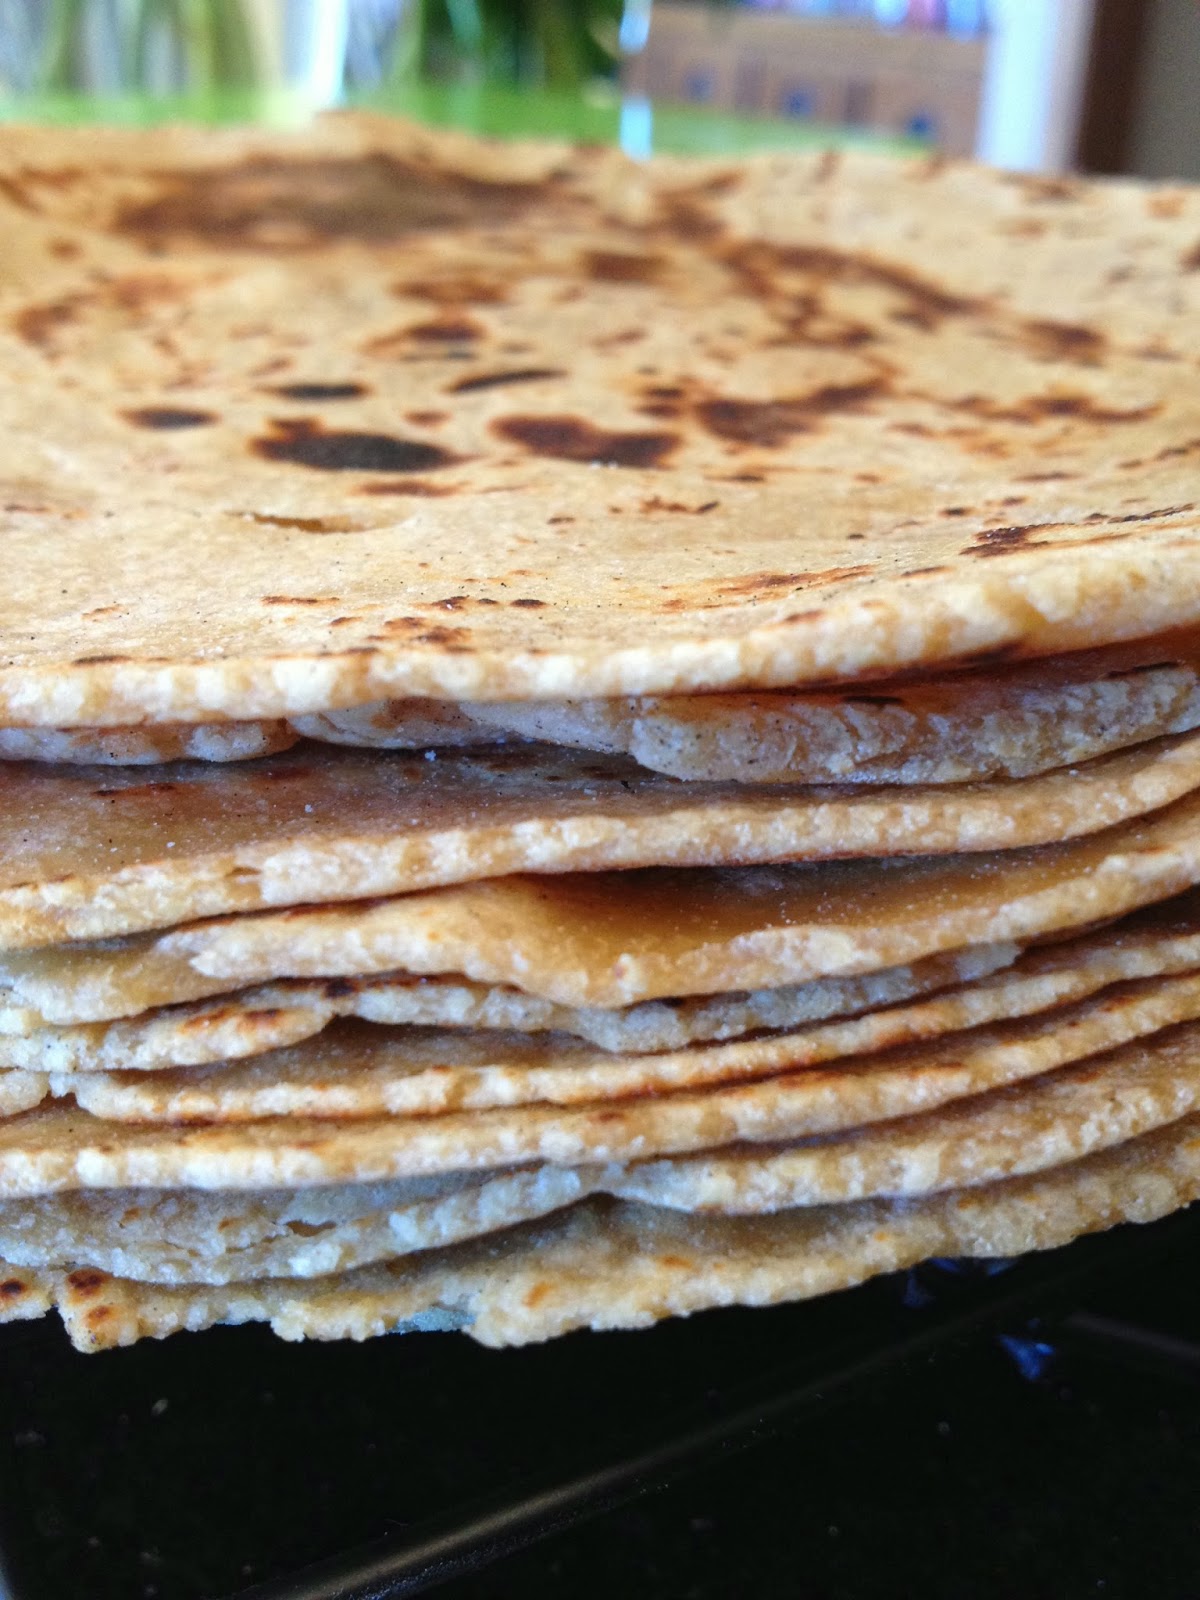
My rotis have a crisp layer on the top and a ‘oh-so-soft’ layer underneath. The combination of the two textures is just earth shattering, no exaggeration. Try it for yourself and tell me what you think.
So without further hoo-hah, I will share my recipe with you.
Ingredients
3 cups roti flour
2 tbsp ghee
2 tbsp oil, plus extra
1 1/2 tsp salt (optional)
1 1/2 cups hot water
all purpose flour, for rolling
To Make the Rotis
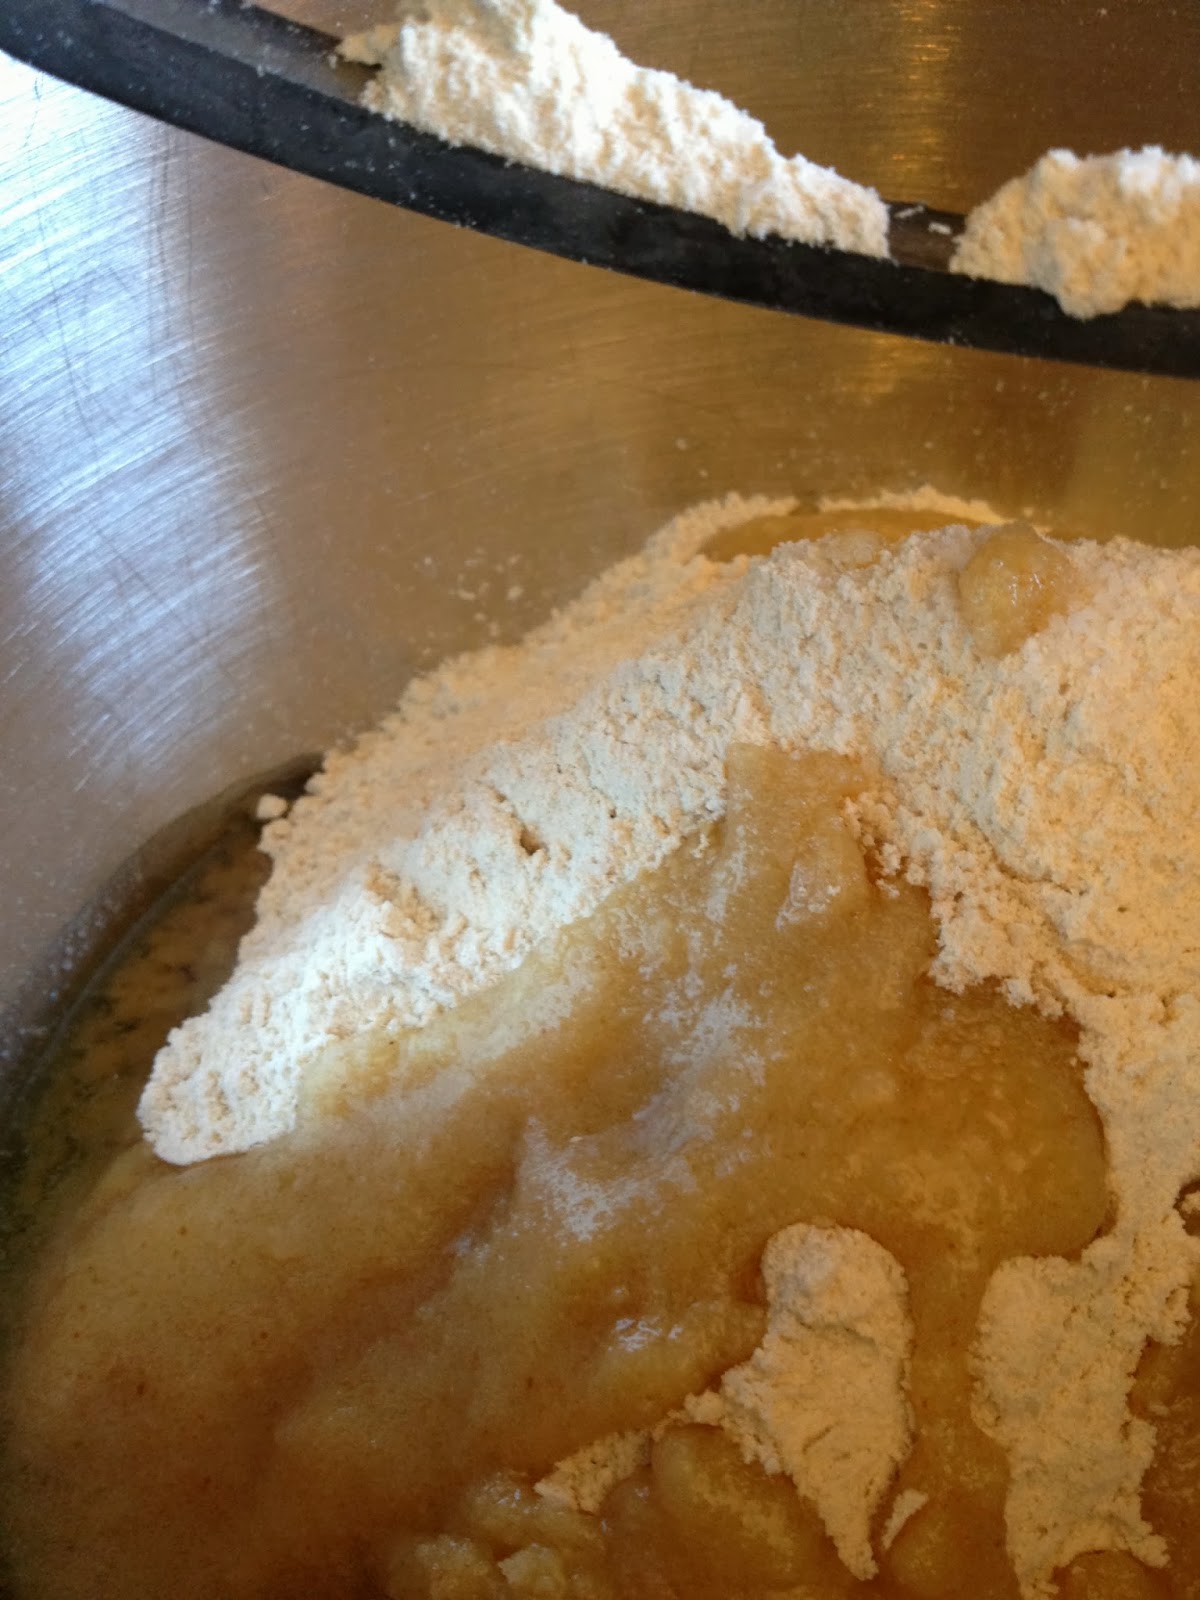
Pile the roti flour, ghee, 2 tablespoons of oil, and salt (if using) into a stand mixer fitted with the dough hook.
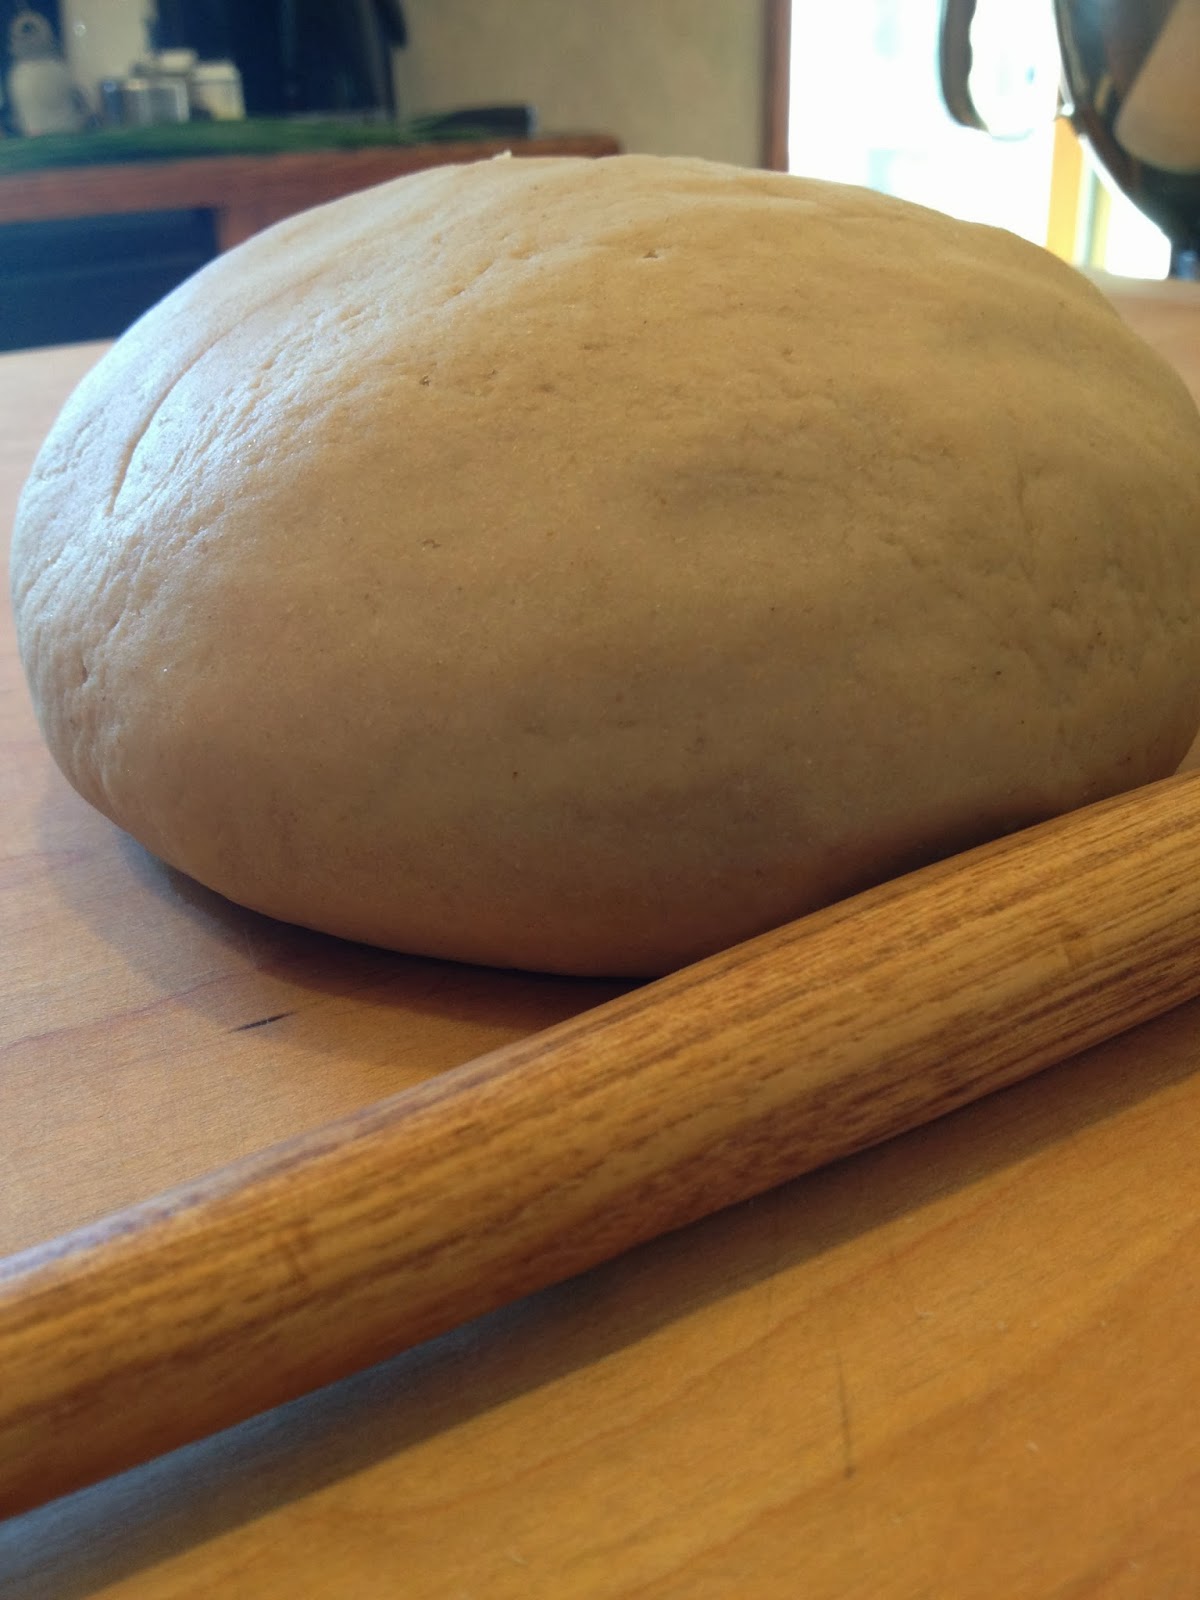
Pour the water and mix on low speed, at first, then gradually increase to medium speed. Once the dough comes together, it should feel a little softer than play dough, but not sticky. If its too dry, add a few tablespoons of hot water at time to achieve the soft dough. Continue kneading the dough till smooth, about a minute. Remove the roti dough from the bowl and knead on a floured board for a couple of seconds. Form into a large round and leave to rest in a covered bowl for 5 minutes.
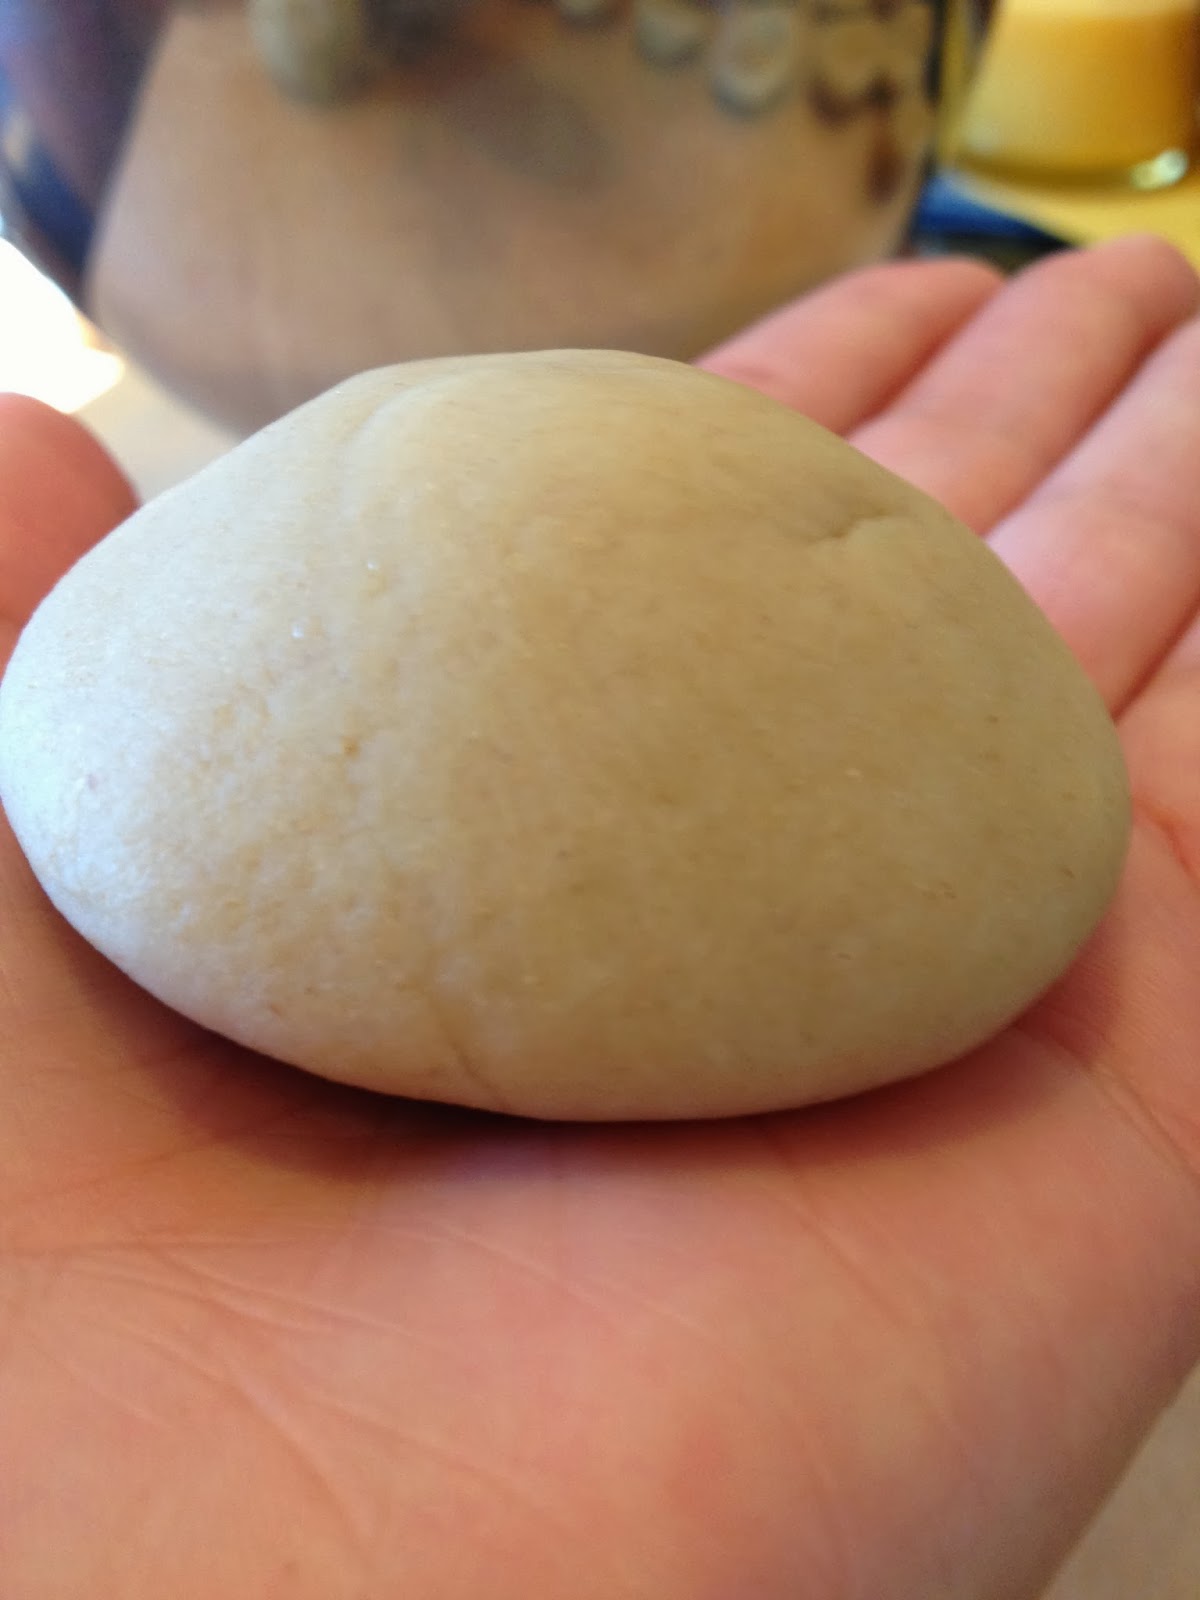
Remove the dough from the bowl and shape into a log and cut into 12 pieces. Immediately, roll each piece into a smooth ball and set aside.
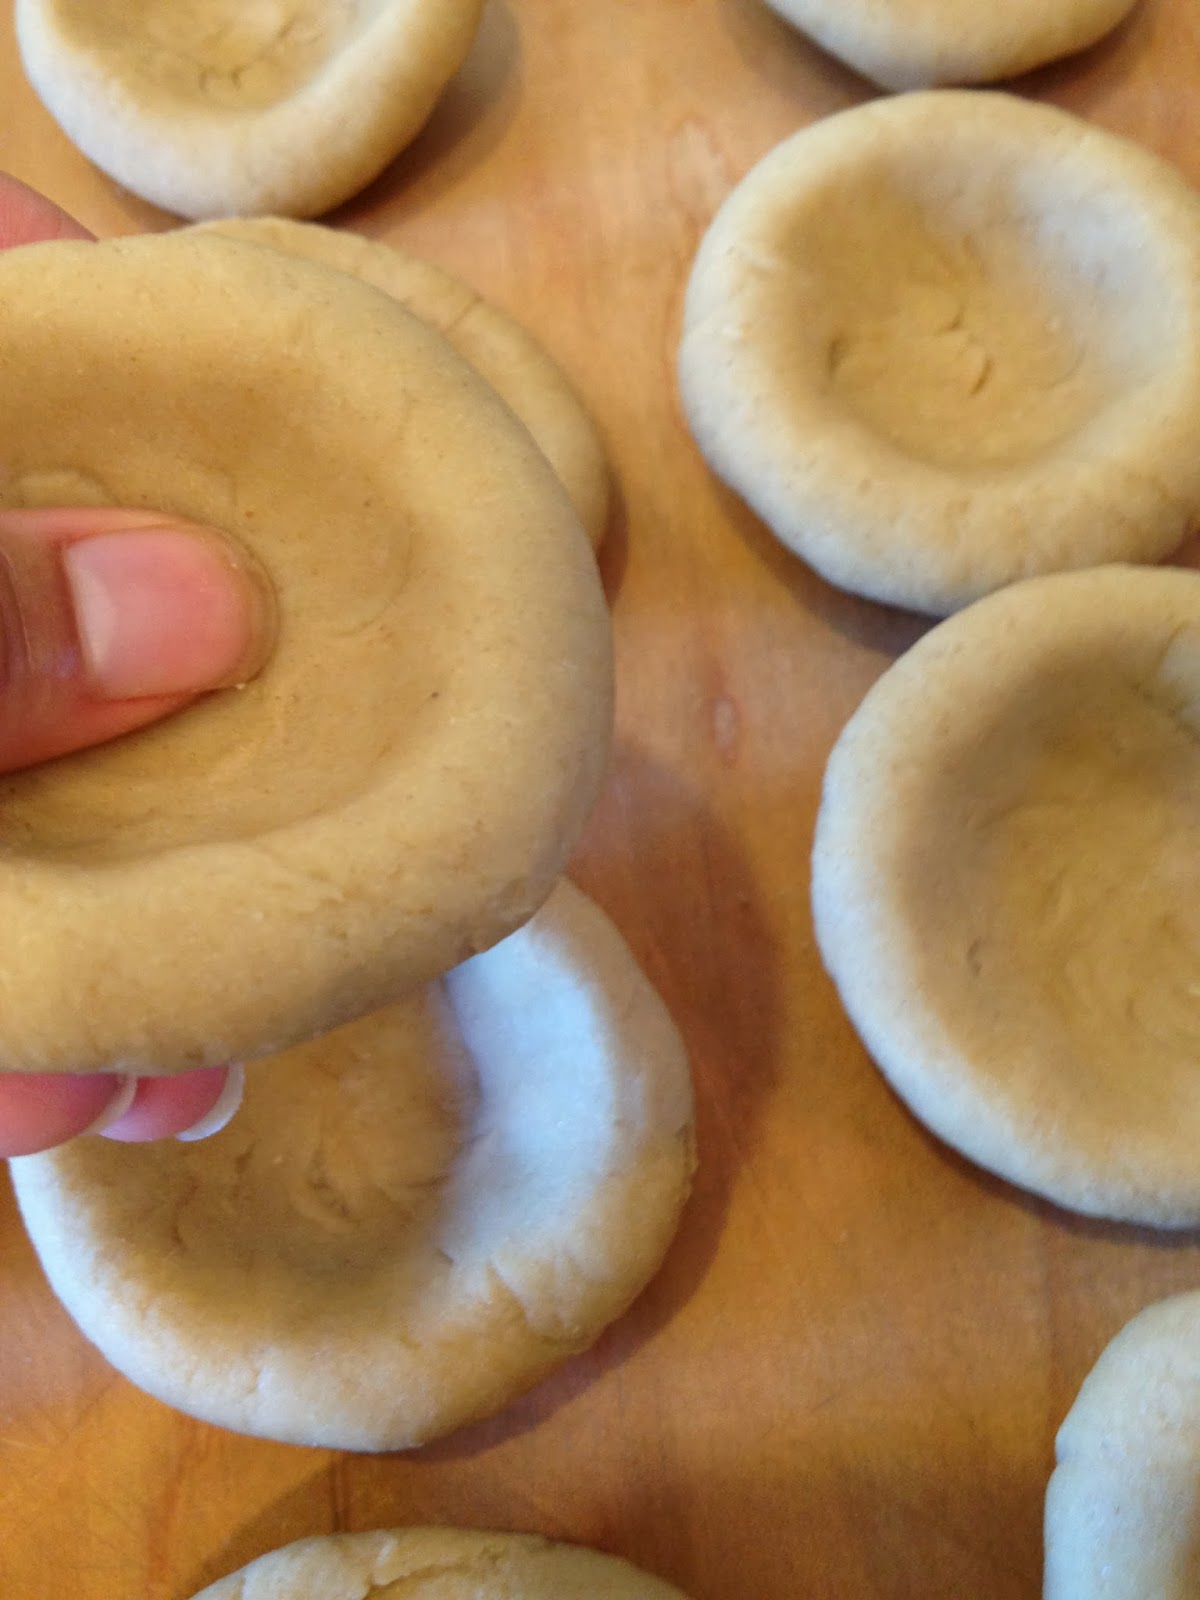
Make a bowl shape out of each piece of dough and place on a floured board.

Pour the remaining oil into a small bowl. Either using your fingers or a brush, smear each piece of dough liberally with oil. Dust with all purpose flour as in picture above.

Gather the sides of the bowl towards the center and pinch to close. Gently flatten and place seam side down into a covered bowl. Preheat a cast iron griddle on medium high while rolling out the rotis.
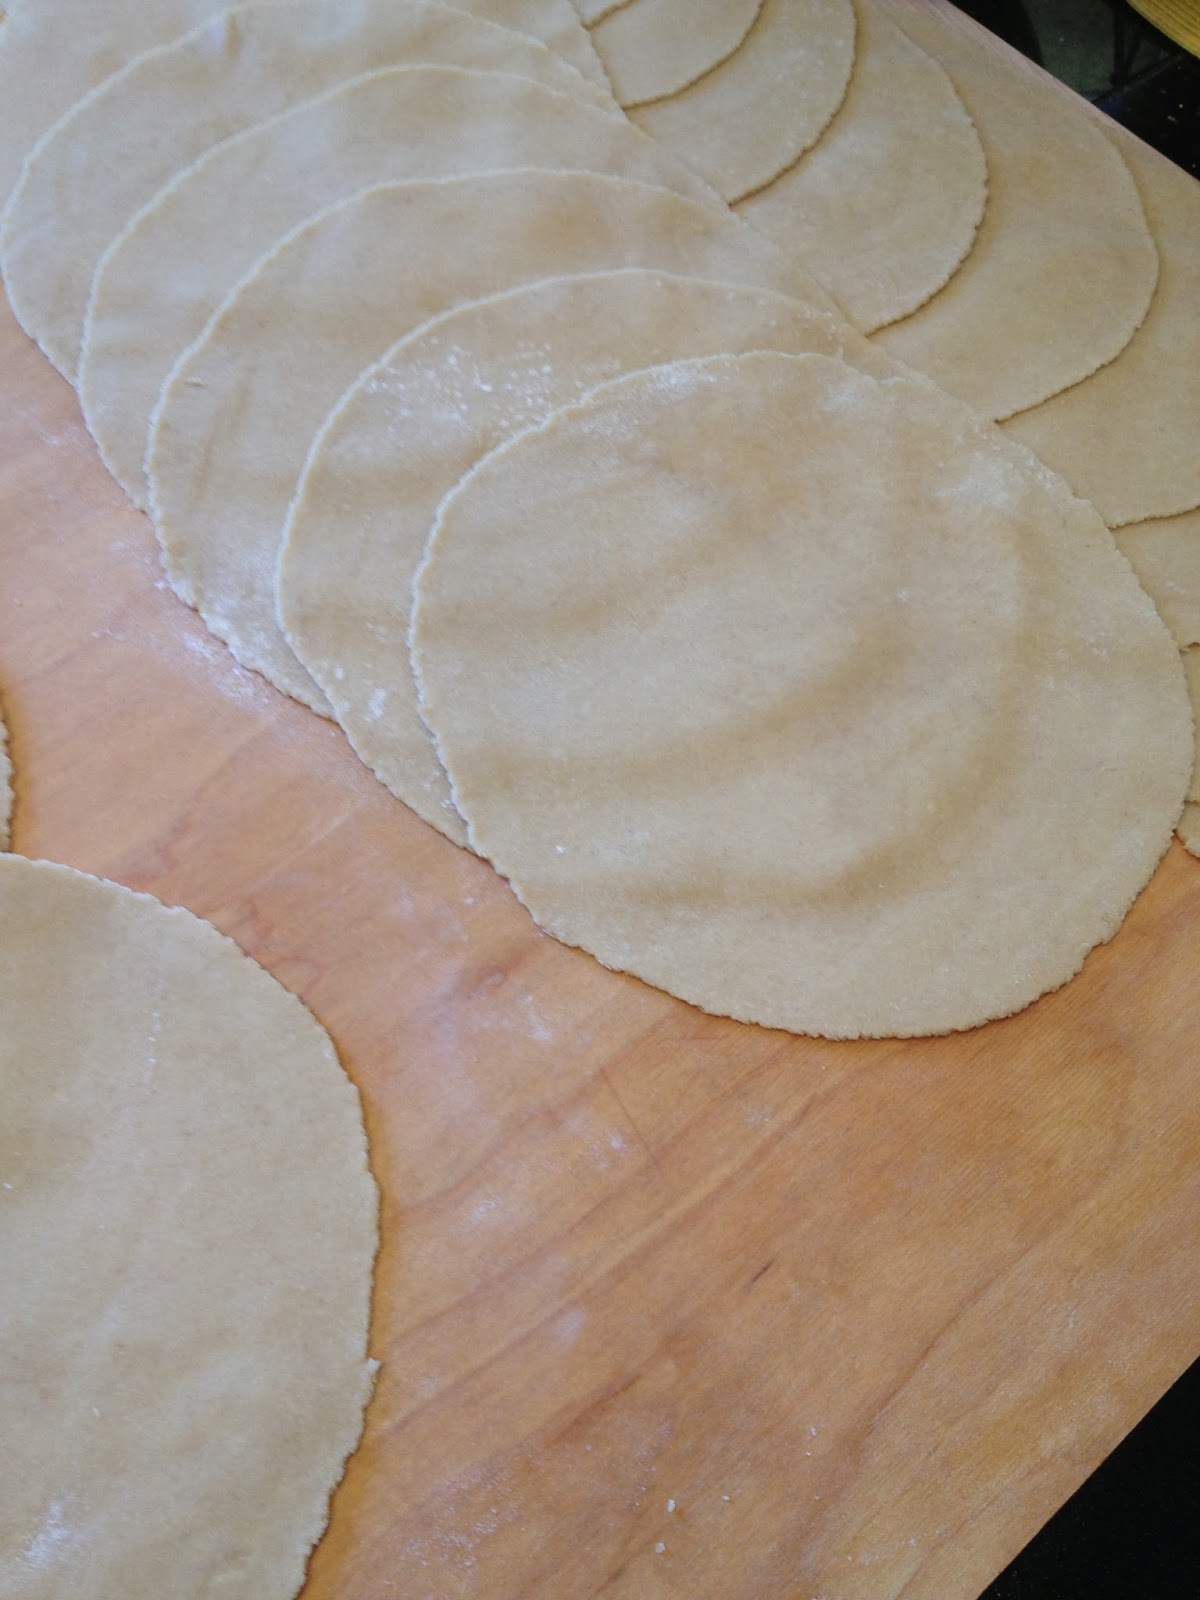
Place a ball of the prepared dough onto a floured board – seam side down. Dust the top with flour and gently roll back and forth with a rolling pin. Every few strokes, lift the dough and rotate, this prevents it from sticking. At this point do not turn the roti over, as this interferes with the cooking process. If needed, dust occasionally with flour but try not to use much as this will dry out the roti. You can stop rolling the dough once the roti reaches about 8 inches in diameter. Gently place on a board or floured tray and cover with a tea towel. Make sure they remain face-up (top) in the tray. Now tackle rolling out the rest of the rotis. Don’t be discouraged if they don’t resemble circular shapes.
Before we continue cooking the rotis, let’s call the part of the roti that was rolled on, the top.
The seam side is called the bottom.
This helps in explaining the first step of the cooking process.

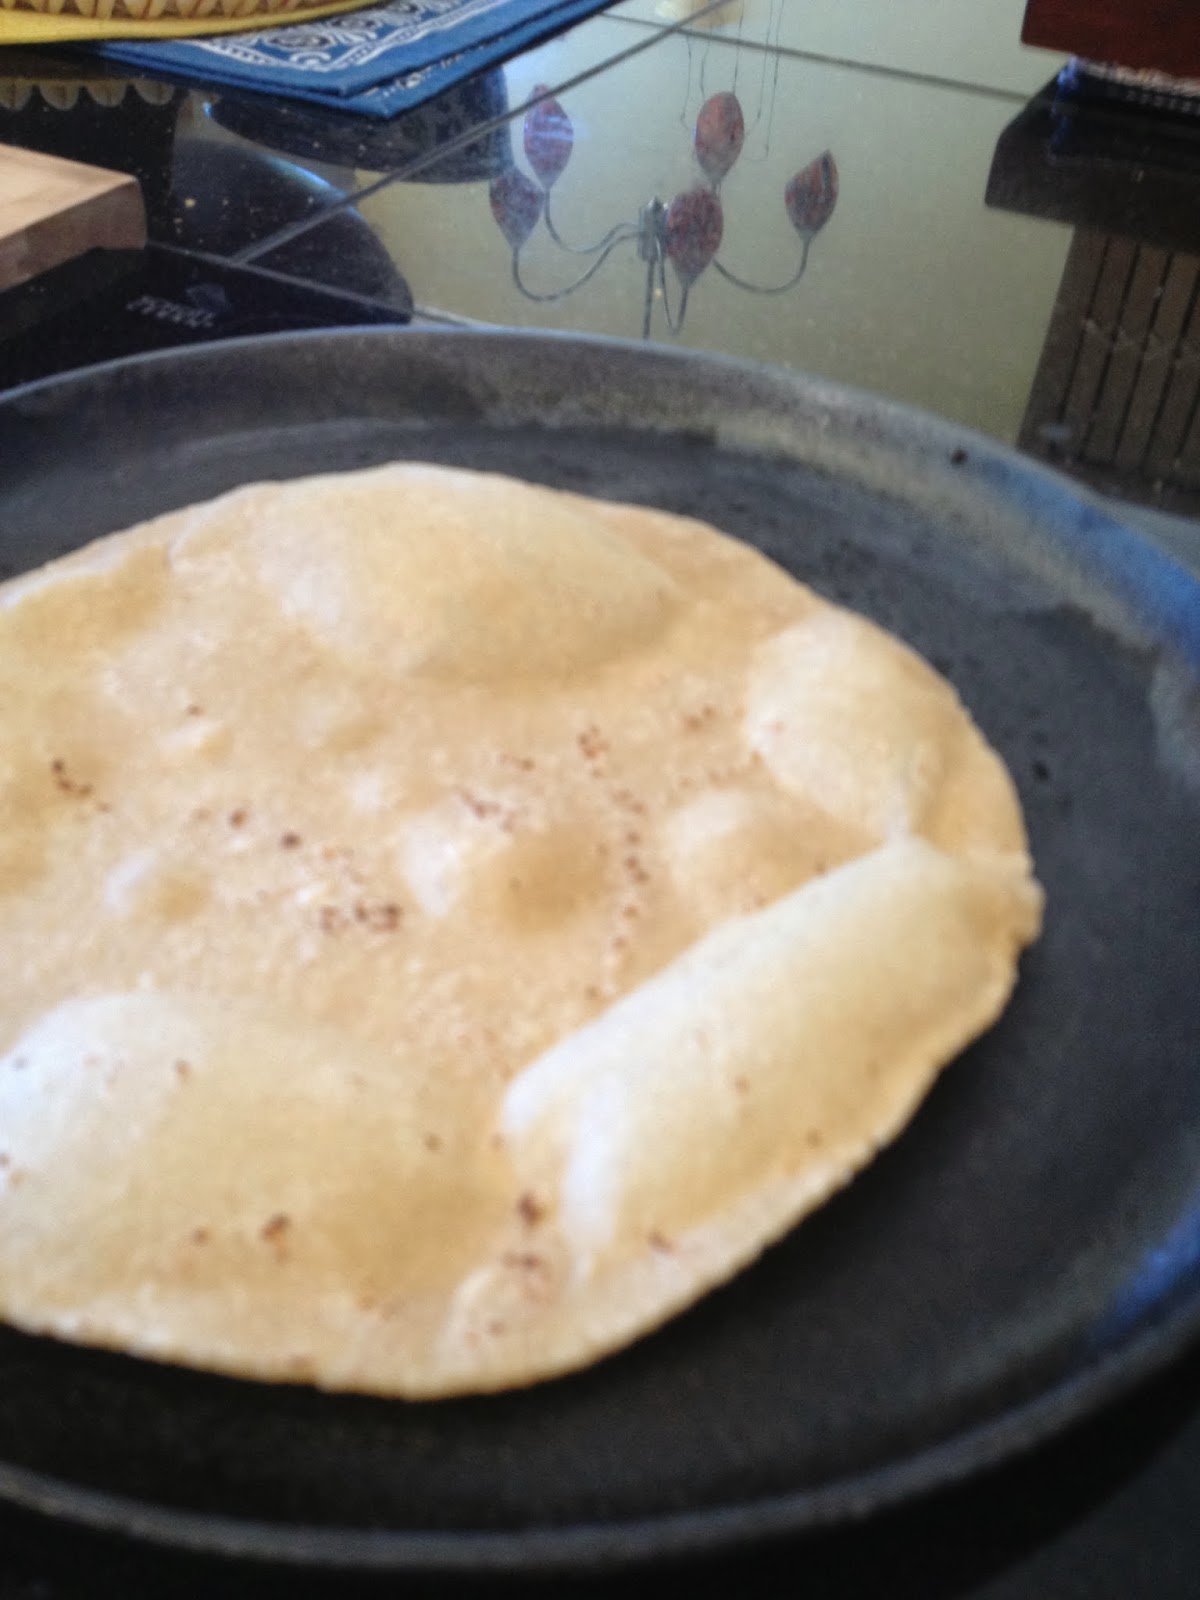
Slightly oil the griddle with a cloth dipped in oil. Place the top of the roti facedown onto the griddle. You will hear a gentle sear, you might even second guess yourself in hearing it. After about 3 – 5 seconds lift and turn over. Your roti will somewhat resemble the above picture. It will be slightly specked with black dots.
After a few seconds lift and rotate your roti, without turning over. Using a flat spatula, gently pat the top of the roti. The roti may bubble up in some spots, this is okay. So lift, rotate, gently pat, lift, rotate and gently pat the roti for about 10 – 15 secs.

Turn over and now your roti will look a bit like the above picture. Continue cooking the roti with the lift, rotate, and gently pat with a spatula. Your roti may even balloon up, which boasts a perfectly made roti, but is not necessary. This last stage should take about 7 – 8 seconds.
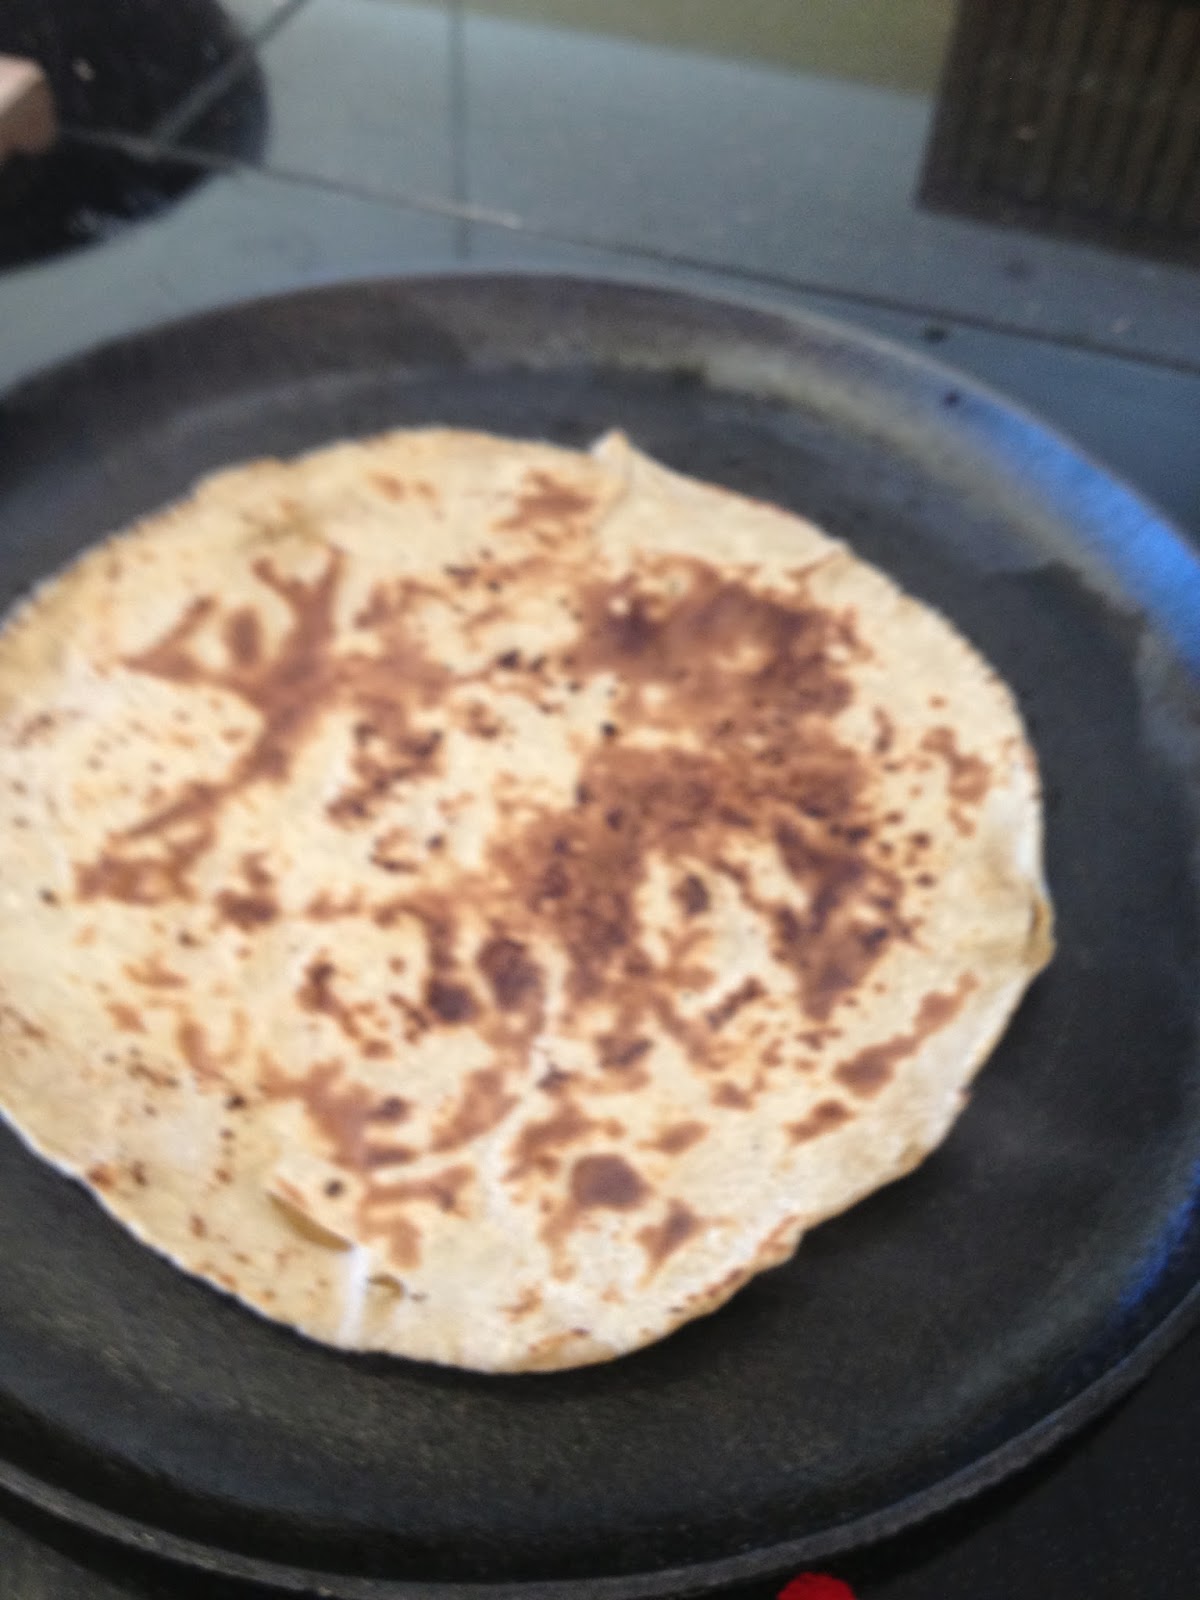
Turn over your roti and you will see larger areas of brown, speckled with tiny dots of black and brown.
Immediately place onto an awaiting cooling rack.
Continue cooking the rest of the rotis.
Smear the tops of the roti in ghee and serve immediately. Cool any left over rotis and place into an airtight container. The rotis will keep for about a week in the refrigerator.
-
Memories
I can’t tell you how amazingly good it is to eat a perfectly fried egg with a hot homemade roti. Each time I eat that first bite, I recall my grandparents home during my childhood. My grandmother made the most delicious sunny side up eggs fried in ghee, no less I might add, they were soft and warm on the top and oh-so-crunchy underneath. The eggs paired deliciously with her homemade rotis. Another delicious way to enjoy your roti, is to shallow fry it in ghee till it’s crispy and flaky. Spread with a heaped spoonful of your favorite jam and instantly devour. Now that’s what my Naanima made too!
We spent most of our childhood vacations at our grandparents home, an hour from Harare. As far as I can recall, there were at least ten or so grandkids visiting at any one time. That, however, did not stop my grandmother from rolling out piles of rotis everyday to accommodate our growing little bodies. I admired her strength and stamina then and now, when I recall her in my memories. Imagine cooking breakfast, lunch and dinner for that many kids for weeks at a time and then going to work too. She was just incredible, God bless her little soul.

-
Tips
If you don’t have access to roti flour from the indian store, substitute with half whole wheat flour and half all purpose flour. You may have to adjust the hot water accordingly.
The griddle is hot enough if you can put the palm of your hand doubt 3 inches above the griddle for about 4 seconds before having to remove it. I know, I know you probably think I’m potty but it works every time. Just be careful not to burn yourself. If it’s too hot reduce the temperature. Also, if the griddle is not warm enough, the rotis will stick.
The rotis will keep for about a week in the fridge.
They reheat magnificently, simply place in a toaster oven for not more than a minute.

Pingback: Achaari Chicken – Chicken with Spicy Mango Pickle | For The Love Of Ghee
Any experience with Gluten Free Roti?
Hi Andy,
That really is such a good question. For several months now I’ve been experimenting with making a gluten free roti and I haven’t made anything that is truly blog worthy. I’ve been experimenting with adding tapioca flour to several recipes and I’m almost there. Thanks for asking. Keep checking though, I think i’m super close to figuring it out.
Pingback: Turmeric and Cumin Spiced Potatoes | For The Love Of Ghee
Reblogged this on For The Love Of Ghee and commented:
Love this recipe! Make one batch and it’ll last a week in the fridge!
Pingback: Masala Eggplant in Jersey City | For The Love Of Ghee
I love roti and I hate that I have to limit myself to one – its the best – thanks for the detailed steps and amounts – what brand roti flour do you use? I would love to try roti flour but havent yet!
You’re right Nasimah, one roti is never enough! I end up making a batch at least twice a week for my family. As for the brand, I usually use the Sujata brand of Roti flour. I have tried other brands and they work well, too. I hope this helps.
Oh my god! So yum! I just made some Roti and had it with Mango Jam a.k.a Murbo. 😀
Nice! Murbo does sound delicious. I haven’t had that in ages. I’ll have to make it and post that recipe sometime soon. Thanks for reminding me about that Zaynab!